 Save
Save My kitchen smelled like butter and vanilla last March when my neighbor knocked on the door asking if I wanted to bake something festive together. She'd brought cookie cutters shaped like shamrocks, and we spent the afternoon laughing at our lopsided shapes while the oven filled the house with warmth. Those sugar cookies became our tradition, soft and buttery with bright green buttercream outlines that made everyone smile. Now whenever St. Patrick's Day rolls around, I find myself mixing this dough without even thinking, knowing exactly how it should feel beneath my fingers.
I'll never forget bringing these to a St. Patrick's Day potluck where nobody expected homemade cookies, just store-bought treats. Watching people's faces light up when they tasted how soft and buttery they were reminded me that the simplest things often matter most. One friend asked for the recipe that very moment, and I realized these little cookies had somehow become the thing people actually remembered about that party.
Ingredients
- All-purpose flour: Use 315 grams for accuracy, and make sure it's measured correctly by spooning and leveling, not scooping straight from the bag.
- Baking powder: Just 1/2 teaspoon keeps these cookies tender and slightly puffy without making them cakey.
- Salt: A quarter teaspoon might seem tiny, but it's your secret weapon that makes the butter and vanilla sing.
- Unsalted butter: Softened means you can press your finger through it easily—this is essential for creaming properly and getting that fluffy texture.
- Granulated sugar: This one gram matters because it affects both sweetness and spread, so measure it carefully.
- Large egg: Room temperature eggs blend in more smoothly, creating a more cohesive dough.
- Pure vanilla extract: The word pure matters here—imitation has a slightly sharp taste that shows in the finished cookies.
- Almond extract: Optional, but those who love it swear by the subtle depth it adds without being obvious.
- Softened butter for buttercream: This needs to be genuinely soft, not melted, so it whips up light and fluffy.
- Powdered sugar: Sifting removes lumps that would show up in your frosting lines, making everything look polished.
- Whole milk or heavy cream: Start with 1 tablespoon and add more as needed—consistency is personal preference for piping.
- Gel food coloring: Use gel, not liquid, because liquid coloring can make your buttercream too thin and watery.
Tired of Takeout? 🥡
Get 10 meals you can make faster than delivery arrives. Seriously.
One email. No spam. Unsubscribe anytime.
Instructions
- Mix your dry ingredients first:
- Whisking flour, baking powder, and salt together ensures even distribution so every cookie bakes consistently. This simple step prevents pockets of baking powder that would taste metallic.
- Cream butter and sugar until fluffy:
- This 2 to 3 minute step is where the magic happens—you're incorporating air that keeps cookies tender. Listen for the mixer to change sound as the mixture lightens and becomes pale.
- Add egg and extracts:
- Beat these in until the mixture looks fully combined and smooth. Don't rush this; take your time and you'll see the dough come together beautifully.
- Combine wet and dry gently:
- Add flour mixture in stages and mix just until you don't see dry streaks. Overmixing develops gluten and makes cookies tough, which is exactly what we're trying to avoid.
- Chill the dough:
- Divide dough into discs, wrap them, and refrigerate at least 1 hour. This resting time is essential—it relaxes the gluten and makes rolling much easier.
- Roll and cut with confidence:
- Use a lightly floured surface and work quickly so the dough doesn't warm up too much. If it gets soft, pop it back in the fridge for 10 minutes.
- Space them properly on the pan:
- One inch apart gives them room to spread slightly without touching. This small detail prevents cookies from fusing together during baking.
- Bake until just golden at the edges:
- 8 to 10 minutes is perfect—the centers will still look slightly underbaked, which is exactly right. They continue cooking on the hot pan for those first 5 minutes after coming out.
- Cool on the pan then transfer:
- This two-step cooling prevents breakage and ensures even cooling. A wire rack lets air circulate underneath so they don't get soggy on the bottom.
- Make your buttercream smooth:
- Beat butter until creamy first, then add powdered sugar gradually while beating. This prevents lumps and creates a frosting that pipes beautifully.
- Tint with gel coloring:
- A tiny dab of gel color goes a long way, so add it slowly and mix thoroughly. Green and gold are traditional, but you can be creative with your combinations.
- Pipe your outlines:
- Use a small round tip and steady hand to outline each cookie, then fill in details as you like. The frosting will set slightly firm within an hour, keeping your designs crisp.
 Save
Save I baked these with my daughter for the first time last year, and she spent more time decorating her shamrocks with green frosting than eating them. Watching her concentrate so hard on making each outline perfect, occasionally stepping back to admire her work, made me realize this recipe is about more than just cookies—it's about creating moments where people feel free to express themselves. That batch didn't last long, but the memory of her proud smile lasted much longer.
Why the Texture Matters
These cookies strike that perfect balance between crispy edges and tender centers that everyone actually wants. The secret is not overbaking—that moment when the edges just barely turn golden is when you pull them out, trusting that they'll finish setting as they cool. I learned this the hard way after one batch came out too crunchy, and now I set my timer for 8 minutes and check early rather than risk overdoing it.
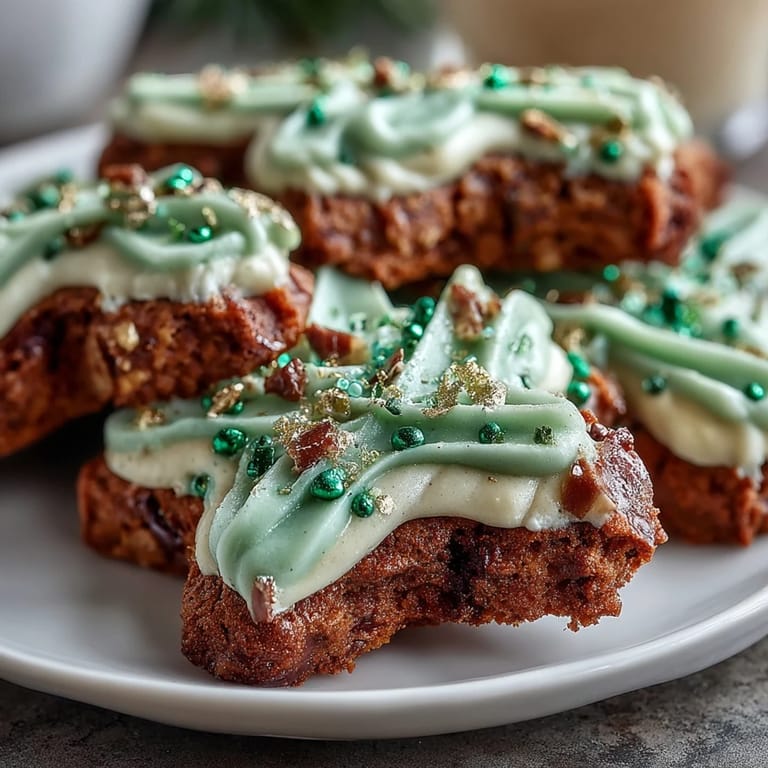
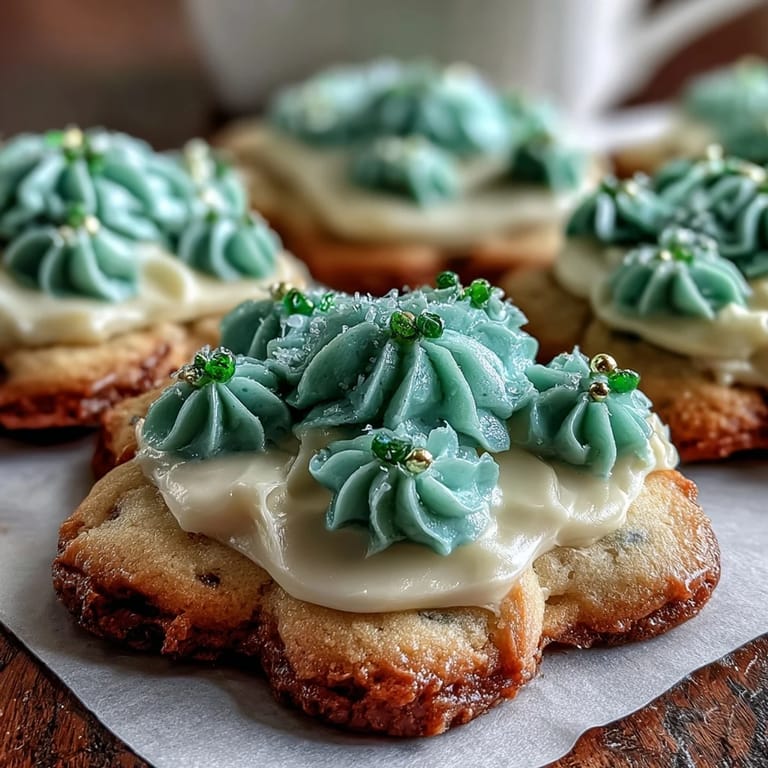
Decorating Like You Mean It
The buttercream outline is what transforms a plain sugar cookie into something festive and special. Some people get intimidated by piping, but honestly, you don't need steady hands or years of practice—you just need a small round tip and the willingness to let lines be slightly wobbly. Imperfect decorations actually look more homemade and charming, and nobody judges cookies that taste this good anyway.
Making These Ahead and Storing Smart
One of my favorite things about this recipe is how flexible it is for timing. The dough keeps in the fridge for two days and freezes beautifully for a month, so you can prepare on a quiet afternoon and bake on a busier day. Cooled decorated cookies stay fresh for up to 4 days in an airtight container, though let me be honest—they never last that long in my house.
- Freeze undecorated cooled cookies in layers separated by parchment paper for up to three weeks.
- Decorate frozen cookies while they're still cold for easier handling, and they'll come to room temperature before serving.
- Store decorated cookies in a single layer if possible to keep the frosting looking pristine and prevent smudging.
 Save
Save These cookies have become my answer to the question of what to bring when I want to feel prepared and celebratory without stress. There's something lovely about making something that's as fun to create as it is to eat, especially when it brings people together around a table.
Recipe FAQs
- → What gives these cookies their soft texture?
The combination of creamed butter and sugar, along with proper chilling of the dough, ensures a tender, soft crumb after baking.
- → Can I make the dough ahead of time?
Yes, the dough can be refrigerated for up to 2 days or frozen for up to 1 month before use.
- → How do I get vibrant buttercream outlines?
Use gel food coloring mixed into smooth buttercream and pipe carefully on cooled cookies for crisp, colorful designs.
- → What shapes work best for these cookies?
Festive cookie cutters such as shamrocks or other St Patricks Day-themed shapes highlight the celebratory nature.
- → Are there any allergen considerations?
These contain wheat, eggs, and dairy. Almond extract is optional and should be omitted for nut allergies.