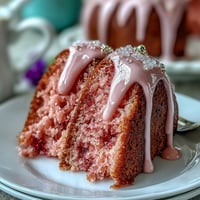
 Save
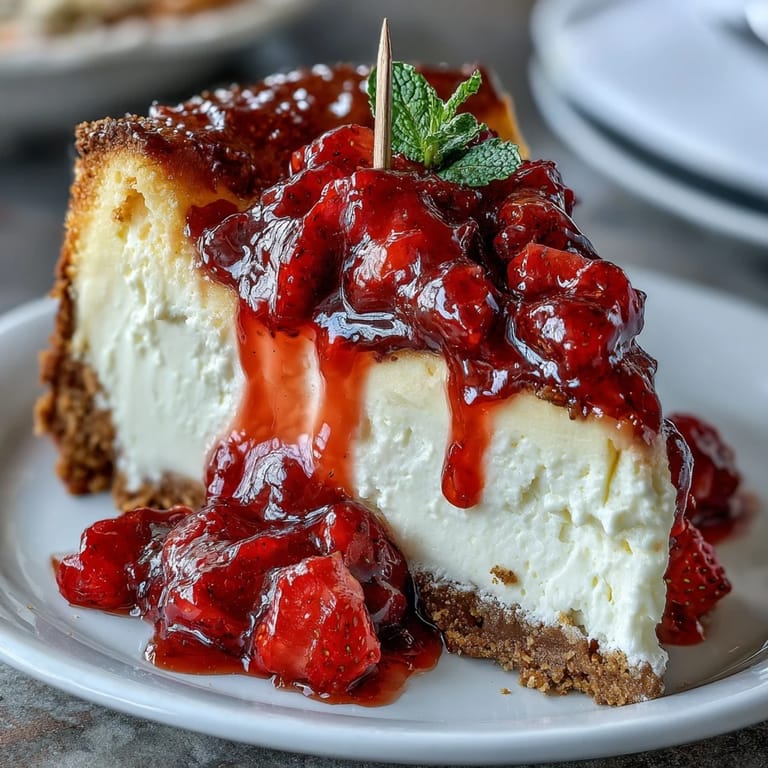
Save My friend texted me a photo of her daughter's graduation invitation, and I immediately thought: I need to make something special that isn't just cake. That's when these cheesecake bites came to mind—small enough to feel elegant, creamy enough to feel indulgent, and the perfect canvas for those tiny diploma picks that make people smile. The first batch I made, I actually forgot to chill them long enough and served them slightly soft, but honestly, no one complained because that buttery crust and tangy filling were already winning the room.
I'll never forget watching my coworker take her first bite at the graduation party, and her eyes went wide in that way that meant she was tasting something unexpected and good. She asked if they were homemade, and when I nodded, she immediately wanted the recipe. That moment—when food becomes a small gift—is exactly why I keep making these.
Ingredients
- Graham cracker crumbs (1 cup): Buy pre-made crumbs or pulse whole crackers in a food processor; they're your flavor foundation and need that buttery sweetness.
- Granulated sugar for crust (2 tbsp): Just enough to add a subtle sweetness without overpowering the cracker flavor.
- Unsalted butter (4 tbsp, melted): The key to a crust that holds together and tastes like real butter, not grease.
- Cream cheese (12 oz, softened): Let it sit at room temperature for at least 30 minutes; cold cream cheese will create lumps no matter how hard you beat it.
- Granulated sugar for filling (1/2 cup): This sweetens the filling while keeping it smooth and light.
- Large egg (1): The binder that sets everything together during baking.
- Vanilla extract (1 tsp): A small amount that rounds out the flavor and keeps things from tasting one-dimensional.
- Sour cream (2 tbsp): The secret ingredient that adds tang and prevents the filling from being too dense or cloying.
- Fresh mixed berries (1/2 cup, diced): Blueberries, raspberries, and strawberries all work beautifully; the tartness balances the richness perfectly.
- Fruit preserves (2 tbsp, optional): A light brush of preserves makes the berries gleam and adds an extra layer of flavor.
- Graduation diploma picks: These are the final detail that transforms dessert into celebration.
Tired of Takeout? 🥡
Get 10 meals you can make faster than delivery arrives. Seriously.
One email. No spam. Unsubscribe anytime.
Instructions
- Prepare your pan and oven:
- Preheat your oven to 325°F and line a 24-cup mini muffin pan with paper liners. A lower temperature keeps the cheesecake from cracking or cooking too fast on the edges.
- Mix the crust:
- In a bowl, combine graham cracker crumbs, sugar, and melted butter, stirring until it looks like wet sand. You want every crumb coated but not soggy.
- Fill the liners:
- Spoon about 1 teaspoon of crust mixture into each liner and press down firmly with your thumb or the back of a small spoon. Don't be shy here—a solid foundation matters.
- Pre-bake the crusts:
- Bake for 5 minutes until they're just set, then remove and let cool while you make the filling. This prevents a soggy bottom later.
- Beat the cream cheese:
- In a large bowl, beat softened cream cheese and sugar together until it's pale, fluffy, and completely smooth, about 2 minutes. This step is worth the time because lumps won't disappear once baked.
- Add the wet ingredients:
- Crack in your egg, add vanilla extract and sour cream, then blend on low speed until just combined. Overmixing introduces too much air and can cause cracking.
- Fill each cup:
- Spoon about 1 tablespoon of filling over each cooled crust, using the back of a spoon to gently smooth the tops. They'll look delicate but that's exactly right.
- Bake until set:
- Bake for 13 to 15 minutes—you're looking for centers that barely jiggle when you gently shake the pan. Overbaking leads to dry cheesecake; underbaking means they won't hold together cleanly.
- Cool gradually:
- Leave them in the pan for 15 minutes to cool slightly, then transfer to a wire rack. This slow cooling prevents temperature shock.
- Chill thoroughly:
- Refrigerate for at least 1 hour, or overnight if you have the time. Cold cheesecake is easier to handle and tastes creamier.
- Add the toppings:
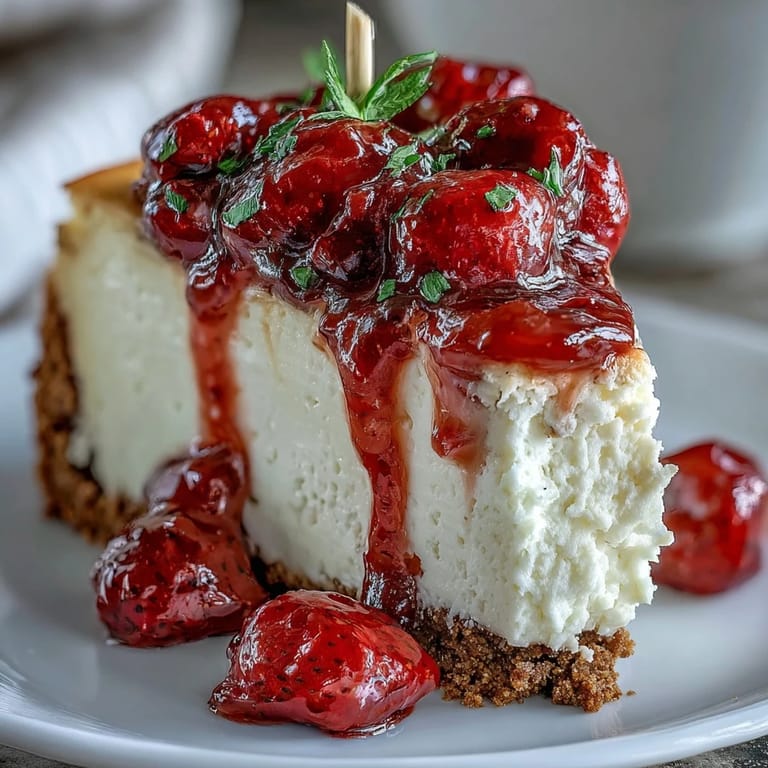
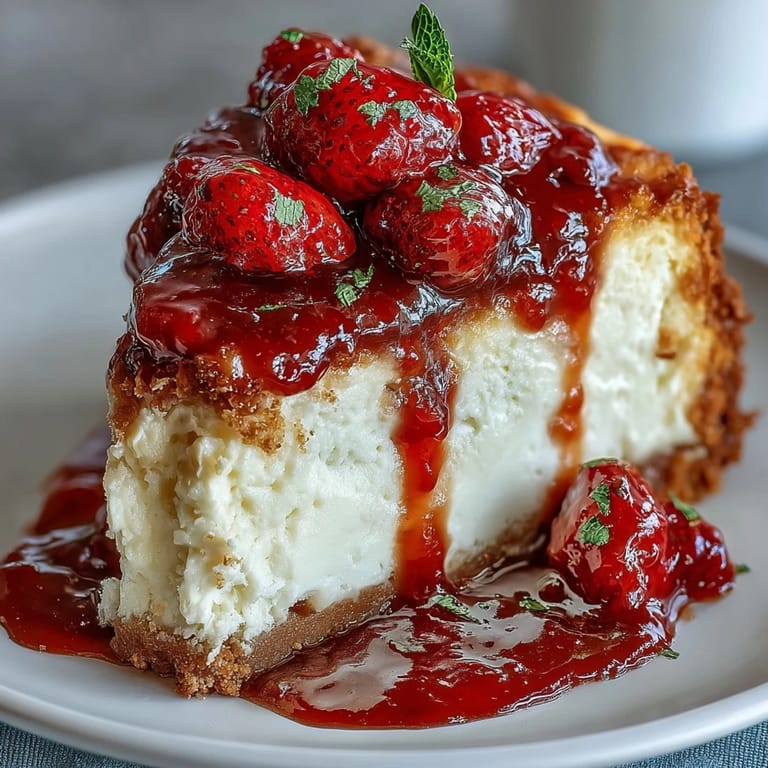
- Top each bite with a small handful of fresh berries. If using preserves, warm them gently and brush a light coating over the berries for shine.
- Insert the diploma picks:
- Just before serving, insert a diploma pick into each cheesecake bite at a jaunty angle. This is the moment they transform into celebration.
 Save
Save There's something magical about serving food that fits perfectly in someone's hand while they're standing up at a party, talking and celebrating. These little bites are designed for those moments when people need their hands free but their spirits need lifting.
Why These Work for Celebrations
Mini desserts hit differently at parties because they feel accessible and fancy at the same time. You can eat one without committing to a whole slice, which means people actually try them instead of politely declining. Plus, the diploma picks instantly signal that this isn't just dessert—it's a moment worth marking.
Flavor Variations to Try
Once you master the basic recipe, you can play around without much risk. A fine zest of lemon mixed into the filling adds brightness, or swirl a tiny amount of chocolate into the cheesecake before baking for richness. I've even topped some with a small dollop of salted caramel and nobody complained about that experiment.
Storage and Make-Ahead Strategy
The best part about these is they actually taste better the next day once the flavors have settled. You can bake them up to 24 hours ahead, keep them chilled, add berries and picks the morning of your event, and spend the day actually enjoying your guests instead of cooking. Store them in an airtight container on the coldest shelf of your fridge—they'll keep beautifully for three days and beyond.
- Make the crusts and filling a full day ahead if you're prepping for a large gathering.
- Add berries and diploma picks no more than a few hours before serving so everything stays fresh and crisp.
- If you need them gluten-free, swap regular graham crackers for gluten-free versions without changing anything else.
 Save
Save These cheesecake bites have become my go-to whenever someone needs a celebration dessert that feels personal and a little bit special. They're the kind of thing people remember longer than they should for something so simple.
Recipe FAQs
- → What type of crust is used in the cheesecake bites?
A buttery graham cracker crust forms the base, made with crumbs, sugar, and melted butter pressed into mini liners.
- → How long should the bites chill before serving?
Chill the cheesecake bites in the refrigerator for at least 1 hour to set properly and develop flavor.
- → Can the crust be made gluten-free?
Yes, substituting regular graham crackers with gluten-free versions makes the crust suitable for gluten-free diets.
- → What toppings complement the cheesecake bites?
Fresh mixed berries are ideal, optionally brushed with fruit preserves to add shine and extra flavor.
- → Are there flavor variations recommended for these bites?
You can experiment by adding lemon zest or swirling melted chocolate into the filling for added zest and richness.