Save
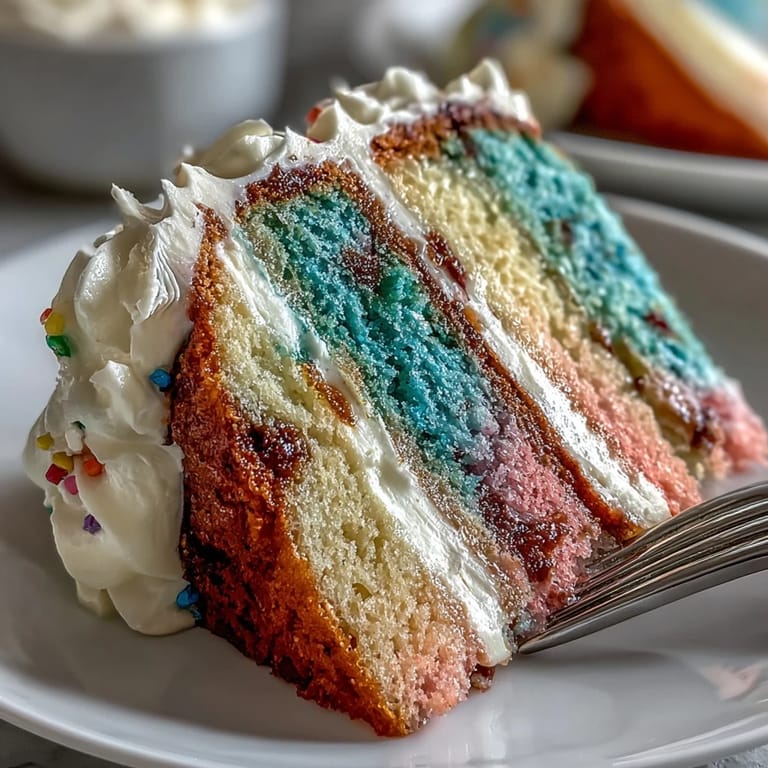
Save My friend texted me a photo of a pastel ombre cake she'd seen at a spring wedding, and I couldn't stop thinking about it. The way those soft pink and yellow gradients melted into each other felt almost impossible to recreate, but something about the challenge pulled me into the kitchen on a quiet Saturday morning. I'd never attempted anything quite so visually ambitious before, and honestly, I was nervous about whether the colors would cooperate or just muddy together into something sad. But when I pulled those three layers from the oven and watched them cool, I realized this cake wasn't just pretty—it was actually forgiving and fun to make.
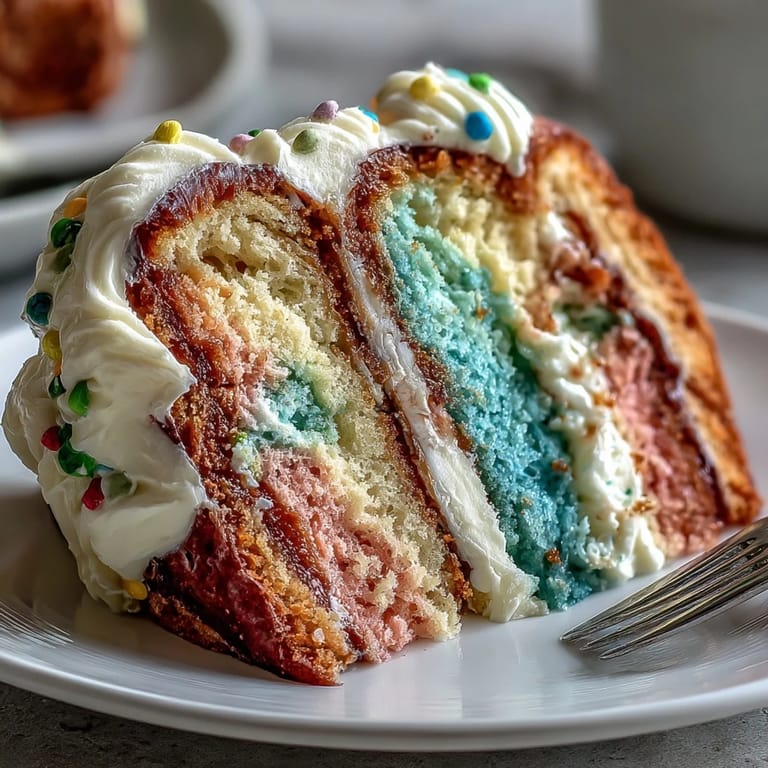
I made this cake for my mom's birthday brunch, and watching her face when she saw it appear from the kitchen was worth every minute of careful layering and frosting. She kept saying it was too pretty to cut into, but once we sliced into it and everyone tasted how buttery and light it was, the hesitation disappeared fast. There's something special about a dessert that's both beautiful and genuinely delicious—it makes people feel celebrated in a way that ordinary cake never quite does.
Ingredients
- All-purpose flour (3 cups): Make sure it's fresh and store-bought measured accurately; too much flour makes the cake dense and disappoints.
- Baking powder (2½ tsp): This is your friend for lift and airiness, so don't skip it or reduce it.
- Salt (½ tsp): A tiny pinch that makes the vanilla sing and balances sweetness.
- Unsalted butter (1 cup): Room temperature is non-negotiable—cold butter won't cream properly and you'll lose your fluffy texture.
- Granulated sugar (2 cups): The creaming step with butter is where the magic happens, so give it the full 3–4 minutes.
- Large eggs (4): Room temperature eggs incorporate smoothly and create a tender crumb.
- Pure vanilla extract (1 tbsp): Quality matters here because vanilla is the backbone of the flavor.
- Whole milk (1 cup): Room temperature milk prevents shocking the batter and keeps it smooth.
- Gel food coloring (pink and yellow): Gel is superior to liquid food coloring because it won't thin your batter or make the colors muddy.
- Unsalted butter for frosting (1½ cups): Again, room temperature is essential for creamy, spreadable buttercream.
- Powdered sugar (5 cups): Sift it first to avoid lumps that refuse to disappear no matter how long you beat.
- Milk or heavy cream (3–4 tbsp): Add gradually until you reach spreadable consistency; heavy cream makes frosting more luxurious.
Tired of Takeout? 🥡
Get 10 meals you can make faster than delivery arrives. Seriously.
One email. No spam. Unsubscribe anytime.
Instructions
- Set your stage:
- Preheat your oven to 350°F and prep three 8-inch round pans with parchment paper so they're ready when batter is mixed. This small step prevents scrambling later and ensures even baking.
- Build the dry ingredients:
- Whisk flour, baking powder, and salt together in a bowl—this distributes the leavening evenly so you don't bite into a metallic-tasting pocket. Take your time with this seemingly boring step because it genuinely matters.
- Cream butter and sugar:
- Beat them together for a full 3–4 minutes on medium speed until the mixture looks pale, fluffy, and almost cloud-like. You'll hear the mixer working harder as air incorporates, and that's exactly what you want for a tender cake.
- Add eggs one at a time:
- Drop in each egg and beat well before the next one; rushing this step can curdle the batter. Each egg needs time to emulsify and integrate smoothly.
- Mix in vanilla:
- A tablespoon of pure vanilla extract goes in now, and the batter will smell incredible. This is the moment you know you're on the right track.
- Alternate flour and milk:
- Add about a third of the flour mixture, then half the milk, then another third of flour, then remaining milk, then the last bit of flour, beating gently after each addition. Don't overmix; just combine until you see no streaks of flour.
- Color your layers:
- Divide batter into three equal bowls and tint each one—pale pink in one, pale yellow in another, and leave the third plain (or tint it peach if you want a softer gradient). Start with a toothpick dab of gel coloring and stir gently; you can always add more, but you can't remove it.
- Pour and bake:
- Pour each colored batter into its prepared pan, smooth the tops, and bake for 22–26 minutes until a toothpick inserted in the center comes out clean. The smell filling your kitchen will be impossible to ignore.
- Cool with patience:
- Let cakes rest in their pans for 10 minutes, then turn them out onto wire racks to cool completely. This resting period lets them set enough to release cleanly without breaking.
- Make buttercream frosting:
- Beat room-temperature butter on medium-high speed until creamy, gradually add sifted powdered sugar, vanilla, salt, and milk, and beat until fluffy and spreadable. If it gets too thick, add milk a teaspoon at a time; if it's too soft, you can always chill it.
- Tint the frosting:
- Divide frosting into three bowls and color them to match your cake layers—pastel pink, pastel yellow, and plain. Keep a small amount of each in a piping bag if you want to add details later.
- Level and assemble:
- Use a cake leveler or serrated knife to even off the cake tops if needed, then place your yellow layer on a serving plate. Spread yellow frosting on top, add the plain or peach layer, frost it with plain frosting, then top with the pink layer.
- Create the ombre effect:
- Use the remaining frosting to coat the sides, starting with yellow at the base and blending upward toward pink at the top. Work in sections, using an offset spatula or cake scraper to smooth and blend where the colors meet.
- Final flourishes:
- Decorate with pastel sprinkles, edible flowers, or fresh berries before chilling for 30 minutes. The chill time helps frosting set so slices come out clean.
 Save
Save There was a moment while I was blending the pink and yellow frosting on the sides when my partner walked past and just stood there watching, which never happens. He said it looked like something from a magazine, and I felt this small proud flutter that had nothing to do with ego and everything to do with the fact that I'd made something beautiful with my own hands. That's when I understood why people love baking—it's not really about the cake, it's about the quiet satisfaction of creating something that makes someone smile.
Why This Cake Works for Spring
The pastel colors are automatically spring-coded in people's minds, so this cake feels seasonally appropriate without a single flower or decoration. I've learned that timing matters in baking and in life, and spring celebrations demand something that feels fresh, hopeful, and light—which is exactly what this cake delivers. The vanilla-forward flavor isn't heavy or challenging, which means it appeals to people of all ages and tastes.
Scaling and Storage Wisdom
If you need to make this cake a day ahead, that's actually ideal because flavors deepen and frosting sets firmly, making slicing cleaner. The cake keeps at room temperature for one day and refrigerated for up to four days, which gives you flexibility if you're entertaining. I once made a mistake of leaving it uncovered in the fridge and it picked up weird flavors from nearby foods, so always cover it tightly.
Troubleshooting and Flavor Variations
If your ombre looks less blended and more striped, that's honestly fine—there's a certain charm to visible color layers that looks intentional and artistic. For a tangier cake, substitute buttermilk for regular milk, which adds personality without changing the texture. If you want more vibrant colors, use more gel food coloring, but remember that more coloring can slightly affect taste, so find your balance.
- Pair this cake with Moscato or sparkling lemonade for a truly special celebration moment.
- If you're nervous about the ombre, practice blending on a test plate first to see how colors interact.
- Save extra frosting in a piping bag for last-minute decorating or repairs.
 Save
Save Making this cake taught me that beauty in baking isn't about perfection—it's about the care you put into each step and the joy on someone's face when they see what you've created. I hope this cake brings you as much happiness as it's brought to every table it's graced.
Recipe FAQs
- → How do I achieve the ombre effect in this cake?
Divide the batter into separate bowls and add varying amounts of pink and yellow gel coloring. Pour each tinted batter into pans in layers and bake. The layers create a gentle gradient once assembled and frosted.
- → What is the best way to get a smooth buttercream finish?
Beat the butter until creamy, gradually adding powdered sugar and milk. Apply the buttercream evenly using a spatula or cake scraper, smoothing sides and top for a flawless finish.
- → Can I prepare the layers in advance?
Yes, bake and cool layers completely, then wrap tightly and refrigerate up to 2 days. Bring layers to room temperature before assembling and frosting.
- → What substitutes work for milk in the batter?
You can use buttermilk for a tangier taste or plant-based milk alternatives to suit dietary preferences without affecting texture significantly.
- → How should I store the finished cake?
Keep the decorated cake covered at room temperature for up to one day, or refrigerate for up to four days to maintain freshness and texture.