 Save
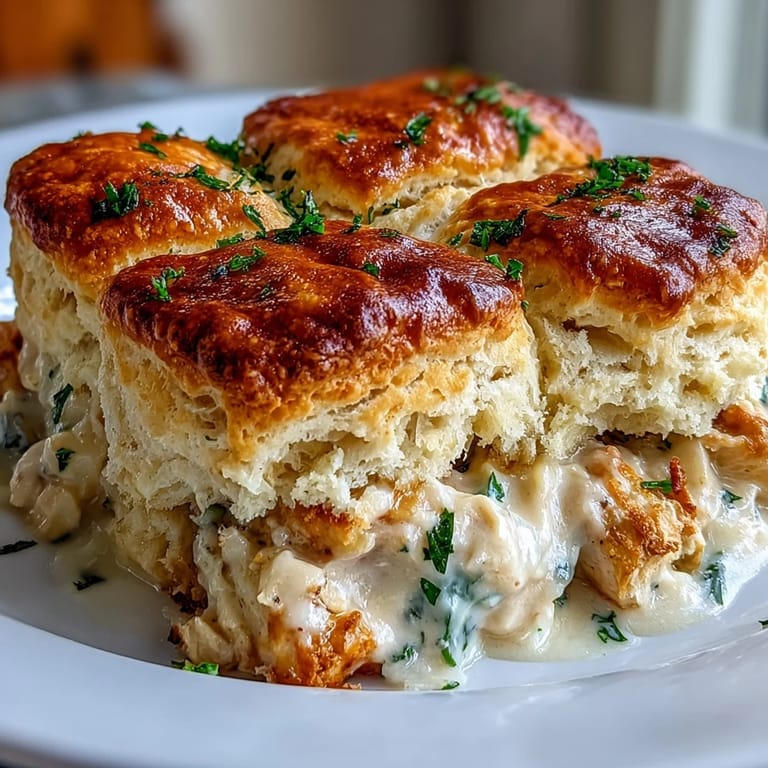
Save There's something about the sound of a spoon scraping against a cast iron skillet that signals comfort is on the way. My neighbor stopped by on a gray afternoon, and I'd just pulled together what I had—chicken, vegetables, cream—and topped it with buttery biscuits that turned golden in the oven. She sat at the kitchen counter watching the filling bubble up around the edges, and by the time we pulled it out, she was already asking for the recipe. That's when I knew this wasn't just dinner; it was the kind of dish that makes people linger at the table.
I made this for my daughter's book club years ago, back when she was still in college and everyone showed up hungry. One friend came back three times for seconds, and I caught her asking my daughter for the recipe before she even left. The funny part? I'd nearly skipped adding the thyme that night because I thought we were out, but a quick dig through the spice rack saved the dish from being ordinary. It taught me that fresh herbs aren't fancy touches—they're what separate a good meal from one people remember.
Ingredients
- Unsalted butter: Use it cold for the biscuit topping so they stay flaky, but melted warm for the filling where it creates that silky base.
- Yellow onion, carrots, and celery: This holy trinity is the foundation, and taking six to eight minutes to soften them properly makes all the difference in the final taste.
- All-purpose flour: This thickens the sauce without any lumps if you cook it with the vegetables first and then whisk in the liquid slowly.
- Chicken broth and whole milk: The combination creates a sauce that's rich but not heavy, balancing comfort with restraint.
- Cooked chicken breast: Rotisserie chicken saves time, or use leftover turkey if that's what you have on hand.
- Frozen peas: They stay bright and tender, added at the end so they don't overcook into little gray balls.
- Fresh thyme: If you only have dried, use half the amount, as dried thyme is more concentrated.
- Baking powder and baking soda: Together they give the biscuits their lift and tender crumb.
- Cold buttermilk: The acidity keeps the biscuits tender, and the cold temperature keeps the butter from melting too early.
Tired of Takeout? 🥡
Get 10 meals you can make faster than delivery arrives. Seriously.
One email. No spam. Unsubscribe anytime.
Instructions
- Set your stage:
- Preheat the oven to 400°F and make sure your baking dish is within reach, because you'll want to move quickly once the filling is ready.
- Build the flavor base:
- Melt butter in a large skillet over medium heat, then add your diced onion, carrots, and celery. The kitchen will start smelling like something good is happening within minutes, and you'll know it's ready when the vegetables are tender and the onion turns translucent, about six to eight minutes.
- Create the roux:
- Sprinkle the flour over the vegetables and stir constantly for about a minute or two until the flour disappears into the butter and vegetables. This step prevents lumps and adds a subtle toasted flavor that you can't skip.
- Whisk in the liquid:
- Slowly pour in the chicken broth and milk while whisking, watching as the sauce comes together and thickens into something silky and pourable. It should bubble gently and coat the back of a spoon after three to four minutes of simmering.
- Finish the filling:
- Stir in your cooked chicken, frozen peas, thyme, salt, and pepper, then take it off the heat. Taste it here—this is your moment to adjust the seasoning before it all comes together in the oven.
- Transfer to baking dish:
- Pour the filling into your baking dish, spreading it evenly and making sure nothing gets left behind in the skillet.
- Make the biscuit dough:
- In a separate bowl, whisk together flour, baking powder, baking soda, and salt, then add your cold cubed butter. Using a pastry blender, two forks, or just your fingertips, work the butter into the flour until it looks like coarse breadcrumbs with a few pea-sized pieces of butter still visible.
- Combine gently:
- Add the cold buttermilk and stir with a wooden spoon just until the dough comes together—overmixing toughens the biscuits, so stop as soon as you don't see dry flour anymore.
- Top the filling:
- Drop spoonfuls of biscuit dough across the top of the filling, leaving small gaps so steam can escape. If you want a shiny, professional look, brush lightly with beaten egg.
- Bake to golden:
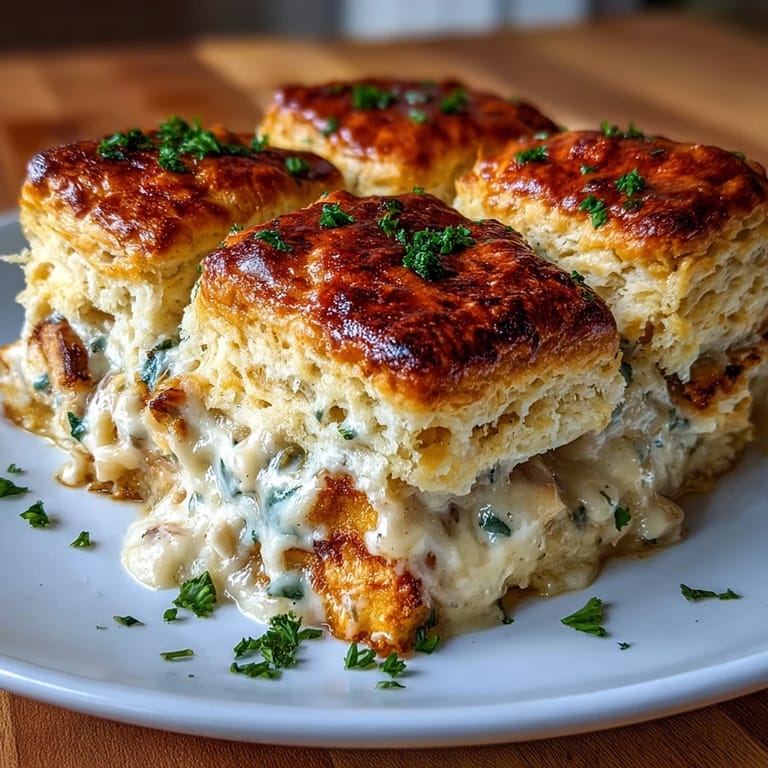
- Place in the oven for twenty-five to thirty minutes until the biscuits are deep golden brown and you can see the filling bubbling around the edges. The aroma will be impossible to ignore.
- Rest before serving:
- Let the pot pie sit for five to ten minutes after coming out of the oven so the filling sets slightly and won't fall apart when you scoop it.
 Save
Save This dish has become my go-to when someone I care about needs feeding—whether it's a sick friend, a neighbor who just moved in, or just a Tuesday when everyone needs something warm and real. There's something about gathering around a bubbling pot pie that makes conversation easier and the world feel a little smaller in the best way.
Customizing Your Pot Pie
The beauty of this recipe is how forgiving it is to your pantry and preferences. I've made it with turkey after Thanksgiving, added a half cup of mushrooms that I sautéed with the vegetables, even stirred in fresh corn when it was in season. My sister swears by adding a splash of sherry to the filling, which adds a subtle sophistication without tasting boozy. The skeleton of the recipe stays the same, but you can dress it up or down depending on what you've got and who you're feeding.
The Biscuit Topping Secret
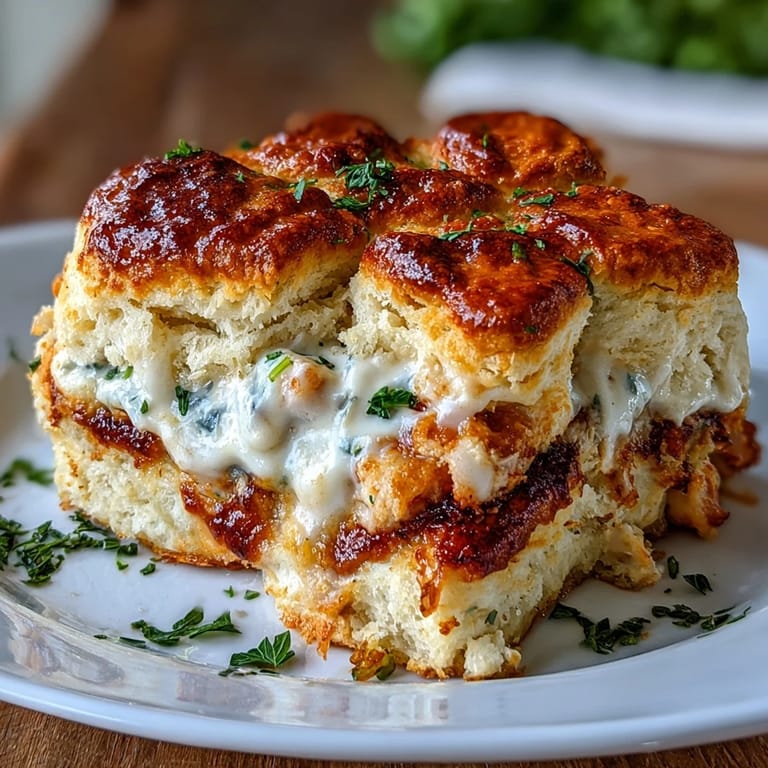
The real magic happens when you respect the temperature contrast—cold butter pieces in cold buttermilk hitting a hot filling creates steam pockets that make the biscuits rise and stay tender. I learned this the hard way after making pot pie with room-temperature ingredients and ending up with dense, flat tops. Now I keep my butter in the freezer for at least thirty minutes before starting, and I use buttermilk straight from the fridge. This small detail is what separates homemade biscuits that feel like an afterthought from ones that steal the show.
Serving and Storage Tips
Serve this straight from the oven while it's still steaming, perhaps with a crisp green salad and a glass of dry white wine like Chardonnay to cut through the richness. Leftovers keep beautifully in the refrigerator for three days and reheat wonderfully in a 350°F oven covered loosely with foil until warmed through, though the biscuit tops won't be quite as crispy the second time around.
- If you're making this ahead, prepare the filling and the dough separately, then assemble and bake fresh on the day you want to serve it.
- You can freeze the unbaked pot pie, but add five to ten minutes to the baking time and cover loosely with foil if the biscuits start browning too quickly.
- A light dusting of fleur de sel on top of the biscuits before baking adds a subtle sparkle and tiny burst of flavor.
 Save
Save Comfort food doesn't need to be complicated, and this pot pie proves it. Every time I make it, I'm reminded that the best recipes are the ones that bring people together, one warm spoonful at a time.
Recipe FAQs
- → How do I achieve a flaky biscuit topping?
Use cold butter cut into the flour mixture and avoid overmixing once adding buttermilk to maintain a tender, flaky texture.
- → Can I substitute the chicken with other meats?
Yes, leftover turkey works well as a flavorful alternative to chicken in this dish.
- → What vegetables complement the creamy filling?
Onions, carrots, celery, peas, and herbs like thyme create a balanced and flavorful vegetable blend.
- → How thick should the creamy filling be before baking?
It should be thick enough to hold its shape but still creamy and bubbling when baked under the biscuits.
- → Is it necessary to use an egg wash on the biscuit topping?
Egg wash is optional but adds a glossy, golden finish to the biscuits once baked.